
This post is part 1 of a beginner’s tutorial on hacking Mr Robot 1 CTF box from VulnHub. The box has three hidden flags of increased difficulty and is beginner to intermediate in complexity.
In this first project, I will document every basic stage of progress, including downloading, installing, and configuring the virtual machines in a secure setup.
So, this post truly is a zero to hero kind of tutorial, based on NetworkChuck’s video tutorial. So let’s do this!
Setting up a secure the virtual environment
First, download and install a hypervisor. For the purpose of this tutorial we’ll be using Oracle VM VirtualBox and it can be downloaded here. Also, download and install the Virtualbox Extension Pack from the same site.
Next, we need to download both our attack box (Kali Linux distro, ftw) and our target box (Mr Robot VulnHub box). They can be found here:
Let’s install Kali Linux Installer Image first. Start VirtualBox and click New, this will prompt the following window:
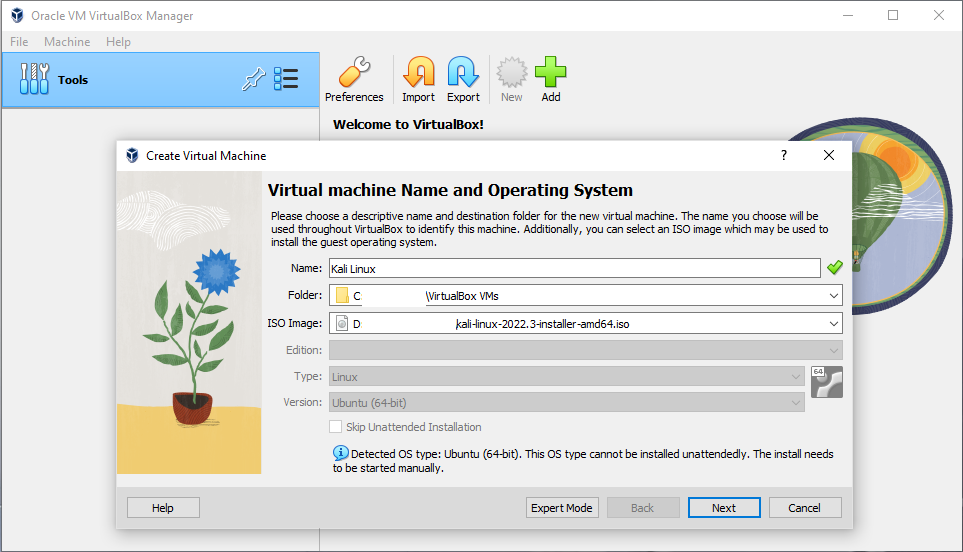
Name your machine, select an installation folder and where your ISO file us then click next. Depending on your machine, decide on the allocation of base memory, number of CPUs and disk size.
Now install Mr Robot’s box by double clicking the OVA file. After this is imported, do not power the machines yet, we need to change the network settings first.
Right click on the Kali Linux and select the network tab. Change the ‘attached to’ option to internal network and name it.

Do the same for the Mr Robot machine, giving it the same network name as defined when configuring the Kali Linux machine. This way both boxes are living in the same isolated network.
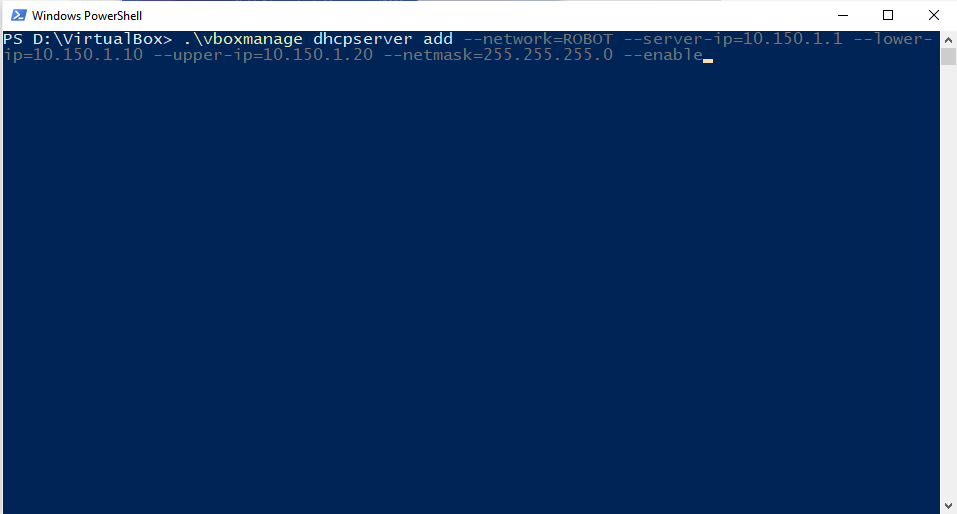
But now we need a DHCP server to hand out the IP addresses, and we’re going to configure one.
Start by opening the VirtualBox main directory in the host machine and once there fire up a Powershell. Enter the following commands:
After going through the VM installation and network customisation you can power up your Kali machine by clicking Start. This should take you to a screen similar to this:
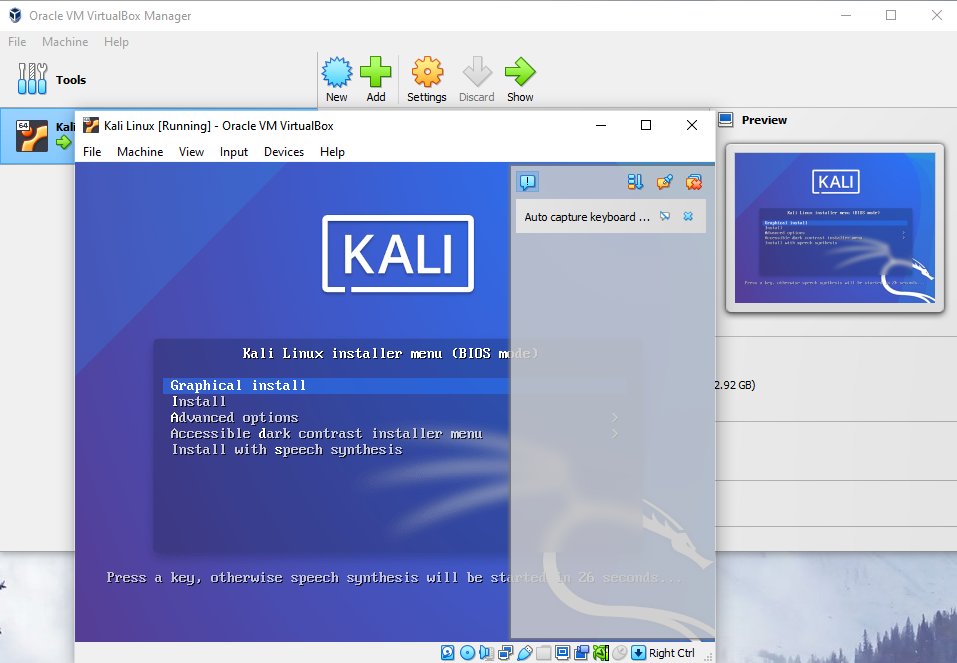
Now we get to install it, like we would a normal OS. So, select Graphical install to continue and customise your Kali Linux installation as prompted.
When done with the Kali Linux, power up Mr Robot box. It should look like this:
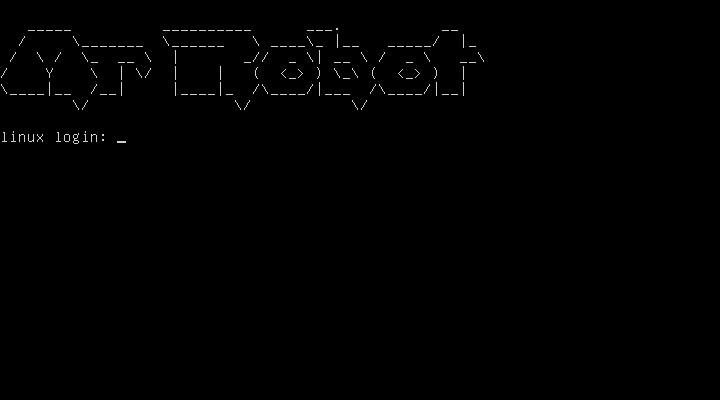
Of course, we don’t have the login details and have to hack it. But before we move on to the second part of the tutorial, let’s do a quick enumeration just to make sure our network is properly set up.
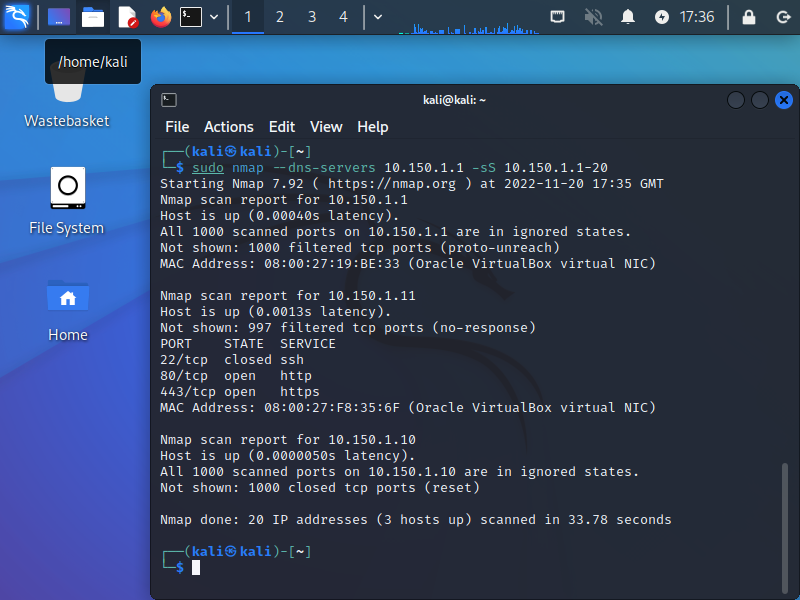
So, as expected our Kali Linux IP is 10.150.1.10 and our Mr Robot box IP is 10.150.1.11
Interestingly, our NMAP reveals that the ports that are open suggest Mr Robot box is a webserver. Well, well…
Leave a Reply